 "Urambo Tauro" (urambotauro)
10/01/2018 at 12:00 Ľ Filed to: saab 900, project, wrenching
 12
12
 5
5|
"Urambo Tauro" (urambotauro)
10/01/2018 at 12:00 Ľ Filed to: saab 900, project, wrenching | 12
| 5 |

I think this is my favorite part.
After all the cleaning, gasket-scraping, and parts hunting, the engine is finally coming back together.
Had to be really strategic about it, though. Because this is not a full rebuild, we didnĺt have the luxury of a 100% clean block. So we had to be careful to angle it on the engine stand so that pieces wouldnĺt fall into the crankcase and stick to the oily bits. This is not a fun way to work.
Same with the head. The head gasket wasnĺt blown, so there wasnĺt any warpage. So we didnĺt tear the head apart or get it resurfaced. Which is great, except that we again had to be careful about prepping it for reinstallation. Iĺm very pleased with how meticulous weĺve been about it, but itĺs been an annoying, time-consuming way to work. I donĺt recommend it.
We also had to be strategic about the order of reassembly. The head gasket not only mates to the top of the block, but to the top of the timing cover and rear plate. So we couldnĺt install the head without installing the timing cover and rear plate first. And the fact that the block was bolted to the engine stand got in the way of this.
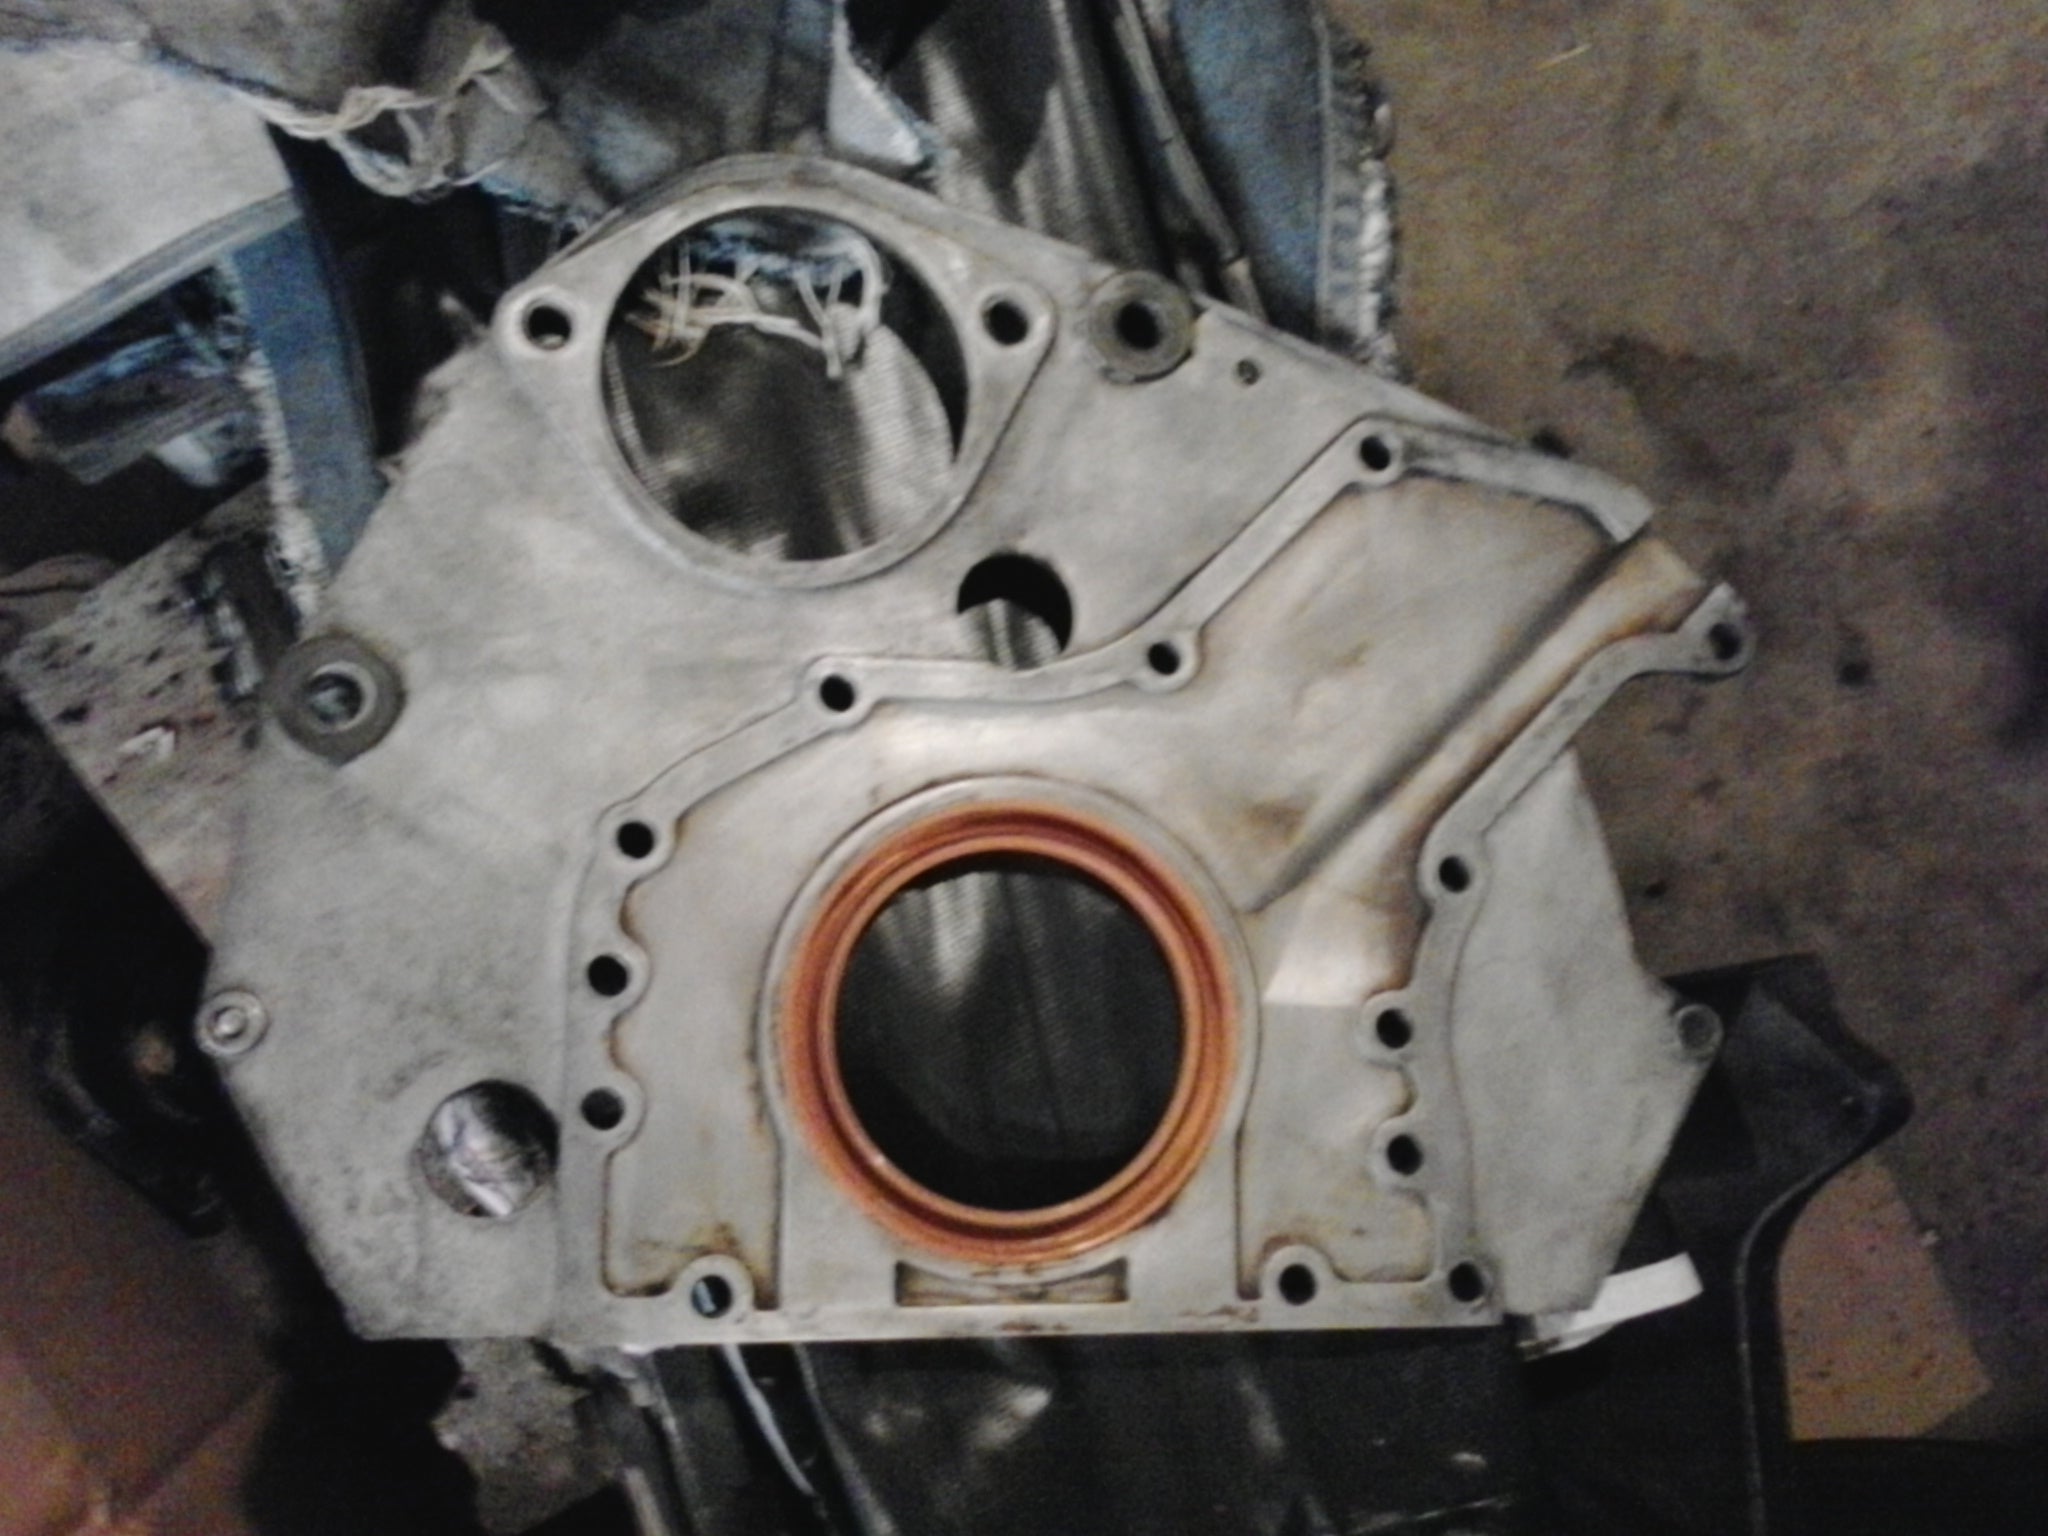
Block side of rear plate. This plate houses the rear main seal, provides an oil drainback channel from the cylinder head, and gives the starter something to bolt to.
So we installed the new timing chain guides and fit the new chain around the crank sprocket so that the timing cover could be bolted on with fresh gaskets. Then the block had to be lifted via the engine hoist, and the rear plate installed with the engine in mid-air. Only then could we lower it onto the transmission (with a fresh ôoil panö gasket of course) and disconnect the hoist.
All the while, the timing chain was dangling over the top of the timing cover. I didnĺt want to leave it like that, for fear of the chain sliding off of the crank sprocket. So even though it was late, we got to work on installing the head.
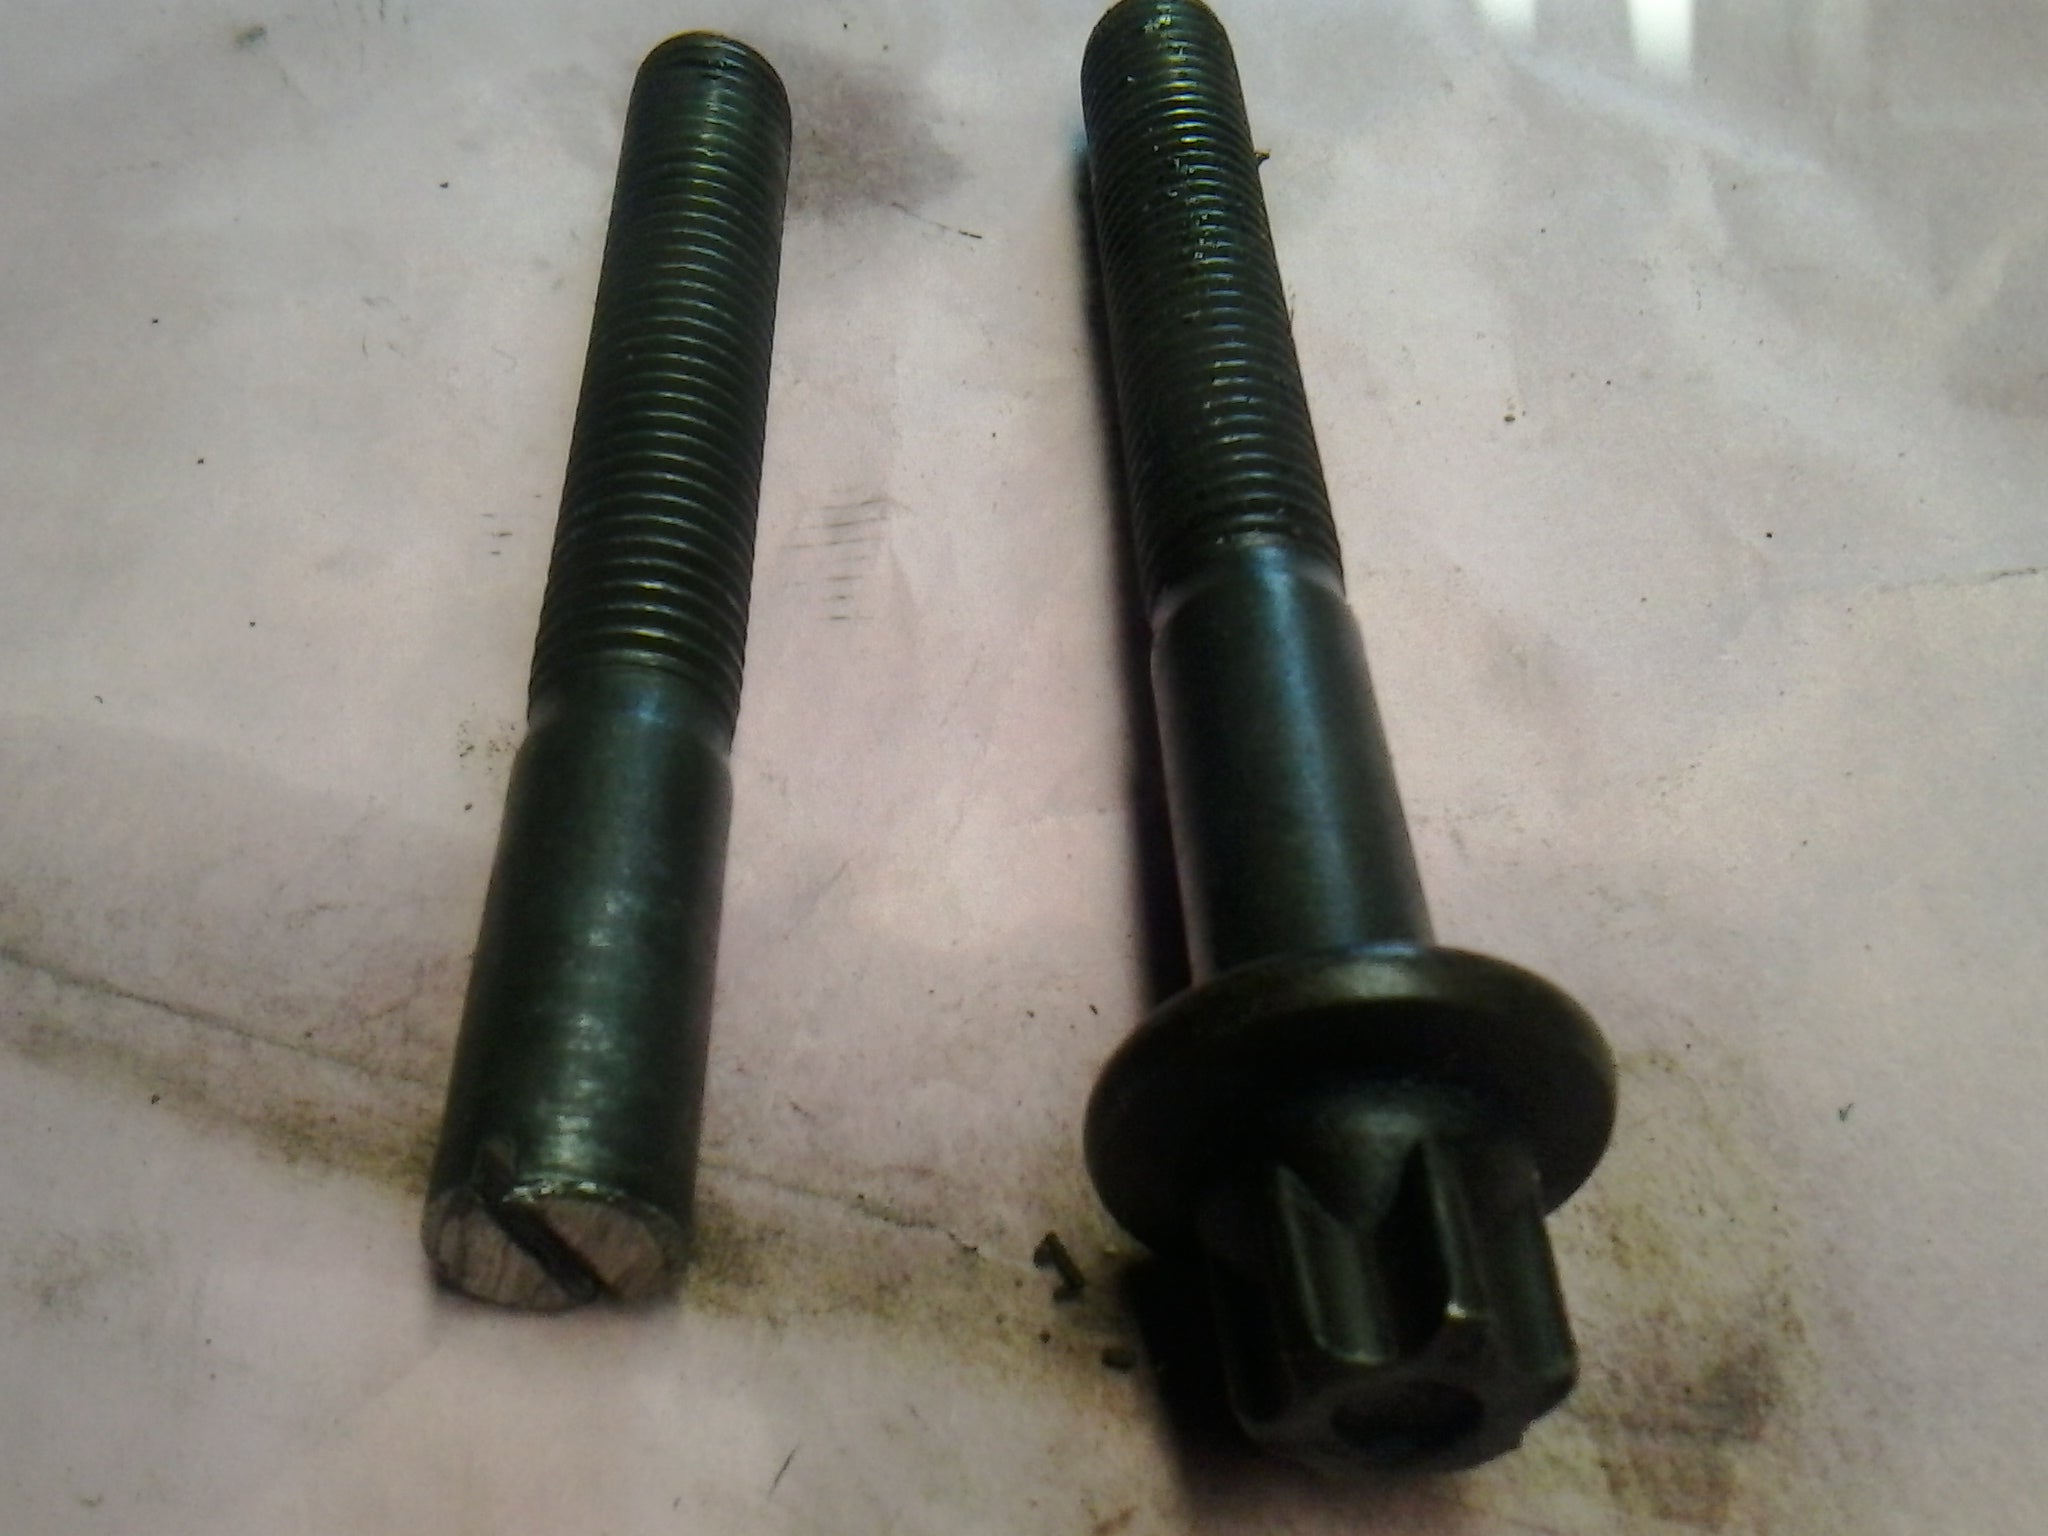
I cut one of the old head bolts to use as a guide pin, and cut a slot in the top to unscrew it once the head was on.
!!! UNKNOWN CONTENT TYPE !!!
The head slid over the timing chain and guides, and down onto its new gasket, firmly located via alignment dowels. We fastened it down with fresh head bolts and removed the DIY guide pin with a screwdriver and magnet before torquing all of the bolts down in sequence.
(And I just realized I forgot to take a pic with the head on. Oops.)
We checked, double-checked, and triple-checked to ensure that the engine was still at Top Dead Center on cylinder #1. In the case of this particular engine, the woodruff key must be pointing up in the direction of the center of the #1 piston, and the locating pin for the flywheel must also be pointing up at piston #4. There is also a vertical mark on the rear plate by one of the starter bolt-holes, at the 12:00 position to line up the flywheelĺs timing marks.
Weĺre not 100% certain, but thereĺs a chance that the old chain may have been off by one tooth. Maybe. Doesnĺt matter now, I guess- all that matters is that this oneĺs perfect. With the engine at TDC, we reinstalled the cam sprockets, meeting their alignment marks on the cams and matching the chain links with their respective marks. All the while, quadruple-checking the crankshaft position.
We then installed the tensioner plug and breathed a sigh of relief as the chain slack disappeared. Unfortunately, we hadnĺt cleaned the valve cover yet, so its upper chain guide wasnĺt ready to be installed, but at least we could wrap this engine up for the night without fear of the chain slipping a tooth.
 Frank W. Doom
> Urambo Tauro
Frank W. Doom
> Urambo Tauro
10/01/2018 at 12:27 |
|
excellent post. thatĺs a neat trick with the old head bolt.
 MM54
> Urambo Tauro
MM54
> Urambo Tauro
10/01/2018 at 13:02 |
|
Very cool!
Iĺm still waiting on getting my block back from the machine shop. No rush on my end though, wonĺt be on the road until spring anyways.
|
Urambo Tauro
> Frank W. Doom
10/01/2018 at 13:11 |
|
Thanks! I got that trick from
TheSaabSite
. Once this carĺs on the road, I should make a post about all the custom tools that weĺve made for this project. Every once in a while, the shop manual throws out another ôSaab tool no. 12 34 567ö that we try to avoid having to purchase.
 Duck Duck Grey Duck FTMFW!
> Urambo Tauro
Duck Duck Grey Duck FTMFW!
> Urambo Tauro
10/01/2018 at 13:13 |
|
Awesome work!!! But... After reading all the posts on this car, I will never buy áone. Jebus.
|
Urambo Tauro
> Duck Duck Grey Duck FTMFW!
10/01/2018 at 13:18 |
|
Just donĺt buy one thatĺs been sitting in somebodyĺs yard for um pteen years. Problem solved.